Subscribe

RSS Feed (xml)

Powered By

Blogger Template From:
Free Blogger Skins

Powered by Blogger

Wednesday, November 30, 2011

A Handful of Roses, A Pocketful of Dreams

The holiday season is here.  The season to spend cherished time with loved ones, cook fantabulous (read: high caloric, carboholic) meals, shop til you drop, and party, party, party.  Add all of those together and you'll need a very versatile holiday dress...amiright?  Enter rose dress:
When I saw this dress, I immediately fell in love with the print.  1/2 part "Lily of the Valley", 1/2 part 80's lounge dress, it also had a built in tie-back (essential element to the refashion) and loads of fabric.  Would you believe that this was sized as a medium?  I'm thinking that that was either a)a big mistake or b) the 1 hour Turbo Fire sessions are really paying off....bwahahahaha.  I can dream can't I?
 The first step was to ixnay those shoulder pads and sleeves.  Seam ripper, how I've missed you.
I was planning on keeping the scoopneck for the dress, but needed the back to be a little lower.  Using the neckline of the dress, traced onto the back and snipped.  Folded in the raw edges of the armholes & back and stitched.
 Placing the dress on my dressform, took in the straps about 2 inches and
took in the dress at the sides by sewing up each of the side panels.
Trimmed and hemmed the bottom a bit.
I know what you're thinking, doesn't look much different right?  Well, once I utilize those built in back ties...
by bringing them to the front and tying a cute bow, a fun, flirty, empire waist dress emerges.  Worn as is with strappy sandals or paired with a black cardigan and boots, it is a welcomed addition to my holiday wardrobe.  As an extra bonus, there is just enough draping in the front to totally camoflauge the "post pig-out" tummy.
And the Little Guy approves.

Happy Holiday to All!!!
Lori


Monday, October 31, 2011

Ghouls & Gals...meet Veronica Lodge

Halloween has got to be one of my all time favorite holidays.  The orange, purple, & black decor, the CHOCOLATE, the haunted houses, scary movies, the CHOCOLATE, and of course, the excuse to dress up in costume all day and not have to worry about someone calling the psych ward.  As previously stated, I am an Aries and find any old excuse (no really, ANY excuse) to dress up, but Halloween is always special because my Little Guy loves it almost as much as I do.  Case in point:
Unfortunately for me, I have a training function off island during Halloween this year, so no coordinating costumes for me and the Little Guy *tear*.  With that bit of bad news, I was determined to celebrate Halloween in my usual fashion.  I am going to be in Waikiki after all, the mecca of party cities (here in Hawaii, anyway), and I knew that I would be in great company.  My only problem...what to wear?  Since I'm planning to take only a carry-on (God help me!) I needed a costume that was compact and didn't require a whole bunch of accessories.  Of course my instinct was to go as a Honeybadger (insert Beavis & Butthead laugh here), but didn't want to be mistaken as a skunk.  Not wanting to be one of the many Lady Gaga or Nicki Minaj impersonators, I decided on the following:
Black & white polka dot skirt=$0.50 garage sale
Red T-shirt sale rack at K-mart=$2.50
Black tie belt=free from clothing stash
Little Guy posing redneck chic complete with popsicle=priceless

With this awesome color combo and my lack of packing space I thought that a Veronica Lodge costume would be perfect.  Who is Veronica Lodge you say?  Only 1/2 of the ancient vintage comic Betty & Veronica.  
I remember LOVING this comic when I was younger and often dreamed of being as glamorous (read:  rich) as Veronica.  Of course like most, I related more with Betty.  Middle income family, girl next door, always crushing on the high school jock.  *Sigh* Did I mention I love Halloween?
 The easiest and most fabulous transition for the skirt is to turn it into a strapless dress.  The elastic band was a wee bit stretched out so I took each side in about 1 inch at the side seams.  Dress complete.
I folded the red T-shirt in half and using one of my cardigans to measure, snipped a bit off the length of the shirt.
I then measured straight down from the tip of the v-neck... 
and snipped again. 
I folded all the raw edges under, and stitched.  Cardigan complete.
Now for the piece de resistance, the monogram "V" which I freehanded (not too shabby huh?) on a piece of scrapped velvet felt.  Snipped it out..very carefully. 
Then placed and stitched it onto the red cardigan.
  
Put it all together and what do you get?
Veronica Lodge and her faithful sidekick Iron Man.

Happy Halloween everyone!
lori

Saturday, October 1, 2011

Star Wars and the Lucky Liz

I've had this little ditty in my closet for a while now, waiting patiently for its moment to shine (insert collective "Ahh!"). 
Joan Cleaver, meet Liz Claiborne....circa 1982.  Although I was immediately drawn to the color (hello pink!) and the print, had a moment when I thought it may be TOO much and almost put it in the "go back" pile.  That was until I found a treat...$3.00 stashed in one of the hidden side pockets.  Taking this as divine intervention, placed my reservations aside and took the discarded Liz home.  It also helped that this dress was only $3.99 and after the surprise cash a mere $0.99. 
Shameless REENACTMENT starring my Little Guy
(and yes, he is obsessed with Star Wars) 
Not sure exactly where I was gonna go with this (hence, the long wait), and decided to start by trimming the top from armpit to armpit.  Use the force Luke....

Ideas now forming and enlisted the aid of my ever patient and understanding dressform.

Using the dressform as a guide, sketched a new neckline. 

Wanting to try my hand at princess seams, used my tape measure and marked a diagonal line from each shoulder to waistline. 

Cut out the modified neckline.

Measuring 1/2 inch on each side of the diagonal marks previously made, formed 2 long darts from shoulder to waist and stitched. 
Placed dress back on the dress form and folded in the neckline and seams.  Stitched and took in the sides about 2 inches.
Placed the dress right side out on the dressform and using some pink double fold bias tape I had in my stash, made straps starting from the waistline..followed up the princess seams, over the shoulders and all the way down the back to the waistline.  Repeated on other side.

Stitched both ends of each strap to secure and repeated bias tape process around entire waistline.  
And the Lucky Liz reemerges victorious as a flirty sundress.
Minus the Little Guy, who wanted to help the hubby take the pic.

Close up view of neckline and princess seams..not bad for my first attempt...
Do or do not, there is no try.

May the force be with you,

lori

Tuesday, September 20, 2011

Always a Bridesmaid, Never in Style...

Anyone who knows me, is well aware that I have been going OFF about the movie Bridesmaids finally being released on DVD.  By far one of the BEST and funniest movies of all time (no, really) it is a sure Oscar contender (not really, but just because Oscars are stoopid).  A more witty, female version of "The Hangover" it had a little something that everyone could relate too. 

While this little ditty is more "Mother of the Bride" than "Bridesmaid" it still fit the necessary criteria:  shape=none, color=workable, cheesetastic posability=high and likely.  A freebie from my gorgeous and generous Gramma (Thanks Grams!) it still had the dry cleaning tag on it and once deconstructed, offered more than one workable piece.  Upon closer inspection, I discovered it was home sewn.  Ahhhh!
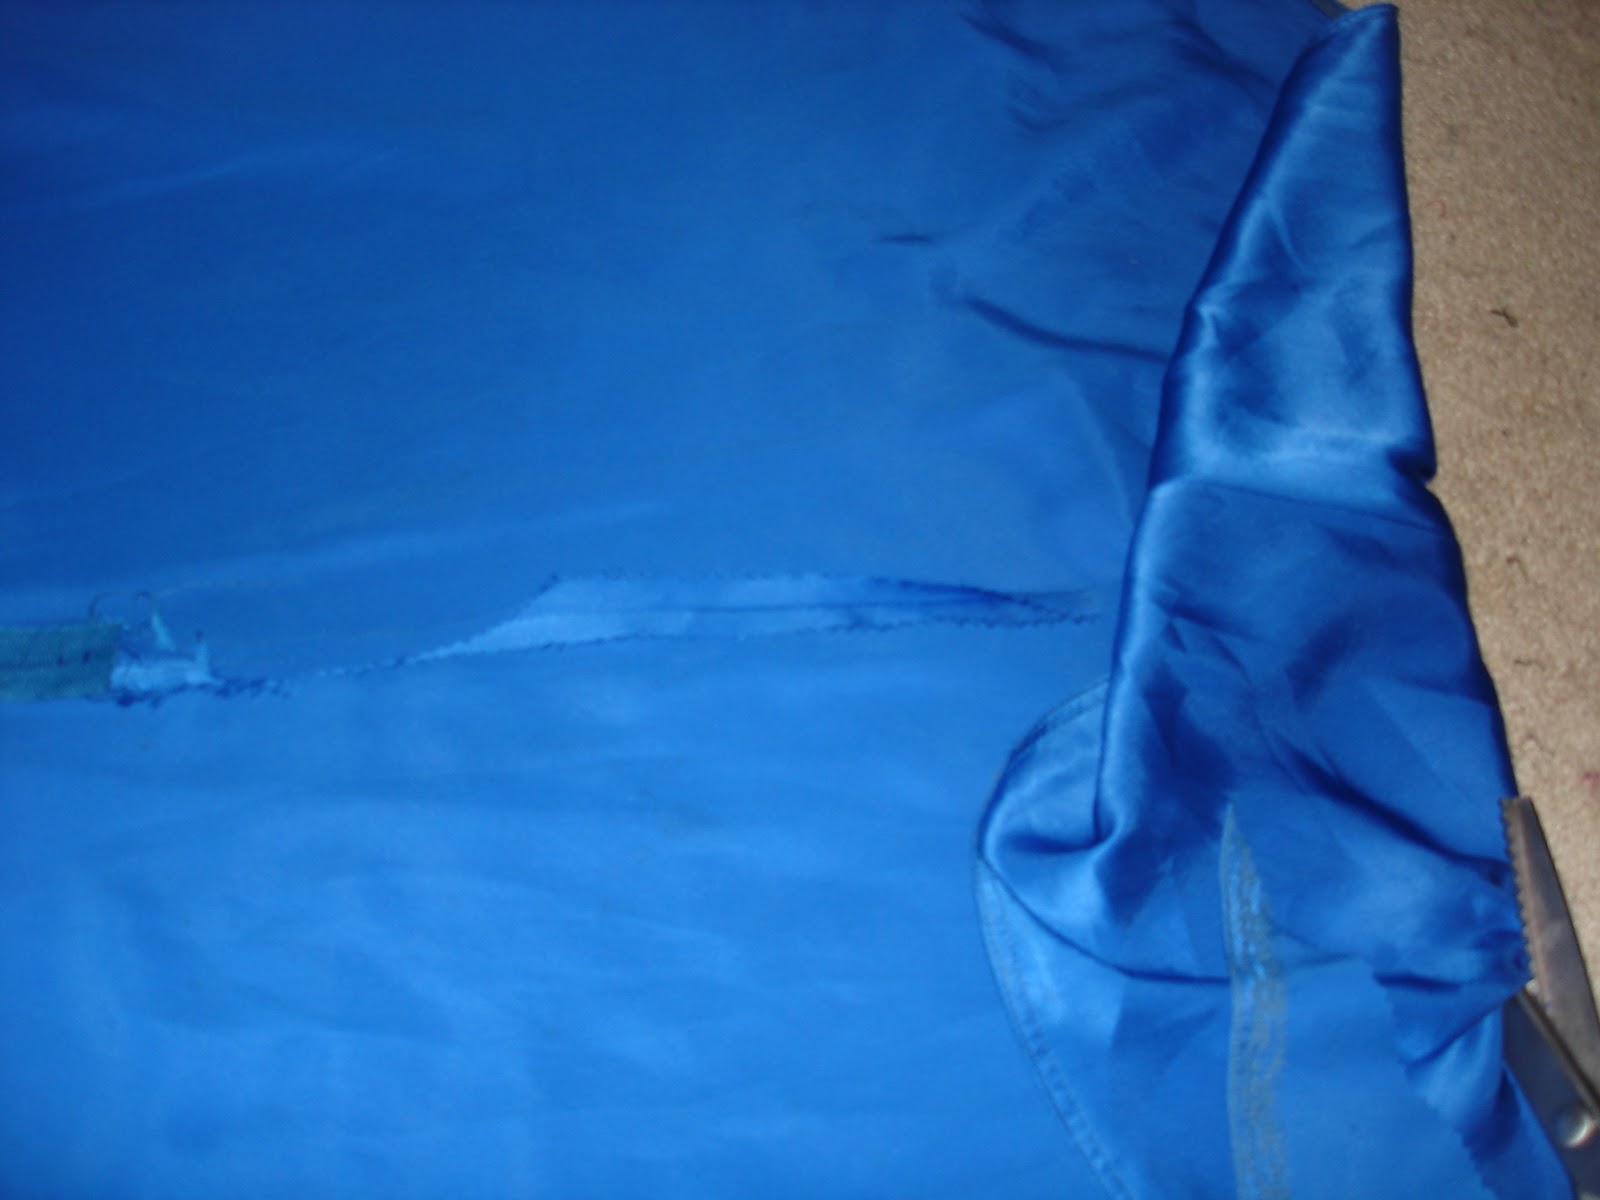
  Yikes!!!  Blue satin, blue lace, and there was a modified train in the back.  SOS!  I need a theme song.  Enter Wilson Phillips
"I know this pain, why do you lock yourself up in these chains?  No one can change your life..."  Oh yeah!  Sing it if you know it!!
Once the lace vest? overlay? was pulled up, the neckline of the satin part of this dress was actually pretty, albeit a bit too fancy schmancy to wear day to day.
Lace, you're outta here.  Beginning to seam rip the many layers of home sewn goodness.  Then...

 got smart (read:  lazy) and decided to snip it all off around the armholes since I was nixing the long sleeves anyway.
Score!!! A lacey blue tank for a future refashioning adventure.

The bodice was lined and interfaced front and back (great job!) and I took advantage of the U-shape by sewing it to the dress following the pre-existing seam.  This formed a wide casing around the entire neckline of the dress.
I snipped about 1 inch from each of the straps and stitched back together leaving about a 1.5 inch opening in the middle of each strap.
My handy dandy ruler competently modeling the hole in the middle of each strap.  Work it girl!

Using a tie belt from a failed pending refashion, I thread it through the neckline casing, using a safety pin to lead the way.
Guiding the tie belt from the left shoulder, all the way around the neckline and back to the left shoulder.

Whoops!  Pump your brakes Lori, gotta open up the zipper seam to make sure it goes all the way around.  Duh!
Using the front hem of the dress as a guide, snipped the train off, folded a new hem and stitched.

Tightened the neckline a bit by pulling on both ends of the sash and "scrunching" the neckline equally.  Complete with modest bow and back by popular demand my Little Guy.  Who has been MIA due to preschool and NO he doesn't miss me at all. *tear*

Unfortunately, no painting the town green today, have a list of FUN necessary things to do.  But cupcakes make it all better...don't they?!?

Cake mix + cream cheese + red food dye + mixing
equals
Red Velvet cupcakes with a twist.
And the Little Guy approves.
Like me, a little country..a little bit Rock'N Roll!

Do you know, things can change...things could go your way if you...
All together now!

lori